Canning is an excellent method to preserve food for a long time. Canning is a simple process when you follow the rules. The food gets heated to minimize the bacteria and creates a vacuum. This makes the food perfect for long-term storage.
Continue reading to learn more about how to can food with the water-bath method or by pressure canning.
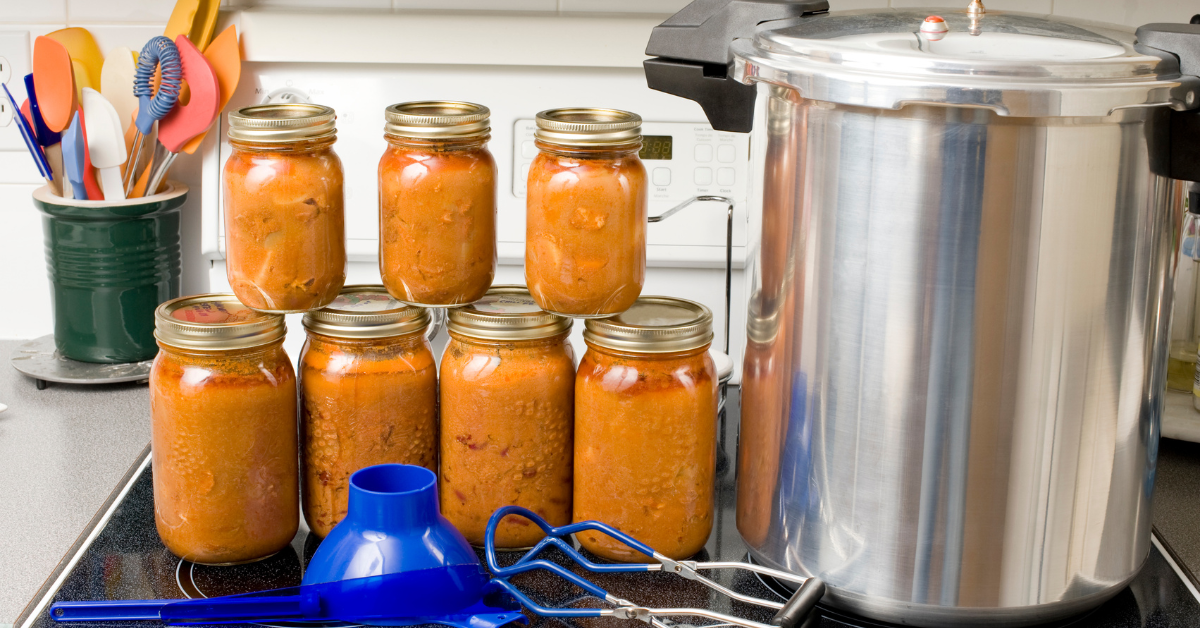
Pressure Canning
The food gets heated to 240°F to destroy the bacterial spores that cause dangerous toxins under low-oxygen conditions, like in canned foods.

Clostridium Botulinum is found in the ground and is widespread in seas and lakes. Food that comes in contact with these is contaminated, chiefly fish, seafood, meats, and vegetables. The symptoms of botulism are the weakness of the facial muscles, which control the eyes, face, mouth, and throat, and can spread to the neck, arm, torso, and legs. And as if that wasn’t enough, muscles involved in breathing can get weak and lead to difficulty breathing and even death. [1]
That’s why it’s invariably essential to do the pressure canning process correctly to make food safe for a long time.
Used for Low-Acid Foods
- Vegetables
- Corn
- Meats
- Fish
- Poultry
- Soups
- Stew
What’s needed
- Pressure Canner
- Jars with lids and bands
- Jar lifter
- Funnel with wide-mouth
- Kitchen tools to prepare your food and fill them in the jars
- Spatula
How Pressure Canning is Done
- Fill your pressure canner with water to a level of 2-3 inches (with the jars inside) and bring it to a simmer at 180°F.
- Place unlocked and empty jars in there. To keep them from floating, fill them with a bit of water. Now let them get steamy hot.
- Fill each jar after another using the funnel and measure the headspace of ¼ to ½ inch.
- Remove air bubbles with a flexible spatula, and slide it between the jar and the food.
- Clean the rim of the jars by wiping them with kitchen paper or a towel.
- Add the lids and lock them with the band’s fingertip tight so the air can escape getting a proper seal.
- Add your filled and closed jars directly into the pressure canner and lock the lid. The water should not cover the jars.
- Set a timer for the stated time in the recipe you are using. The time starts when the temperature is reached.
- Check the pressure of the canner. This varies from canner to canner. Use the instruction of your pressure canner.
- Dial gauge models need to be adjusted to raise or lower the pressure of the gauge, and weighted gauge models release any tension above the desired amount when weight is increased.
- Depressurizing the pressure canner before opening. Turn the heat off and wait for the safety valve to drop back down or for the dial to return to zero.
- Open the lid, and step away, so the steam isn’t directly to you.
- Slightly cool the jars by letting them in the canner for more than 10 minutes.
- Remove the jars using the jar lifter and let them cool down to room temperature for 24 hours.
- After 24 hours, unscrew the bands and check the seals by pressing down on the center of the lids. Your canning process did well when there was no give.
- When there is, make sure to eat your product within 2 weeks and store them in the fridge.
Water Bath Canning

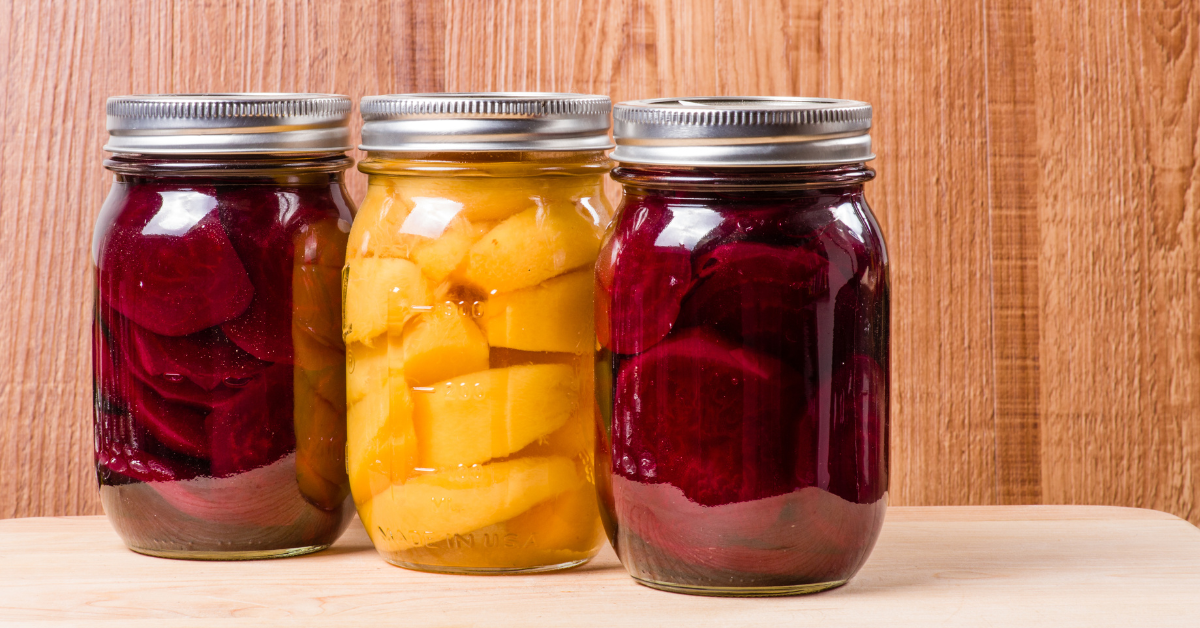
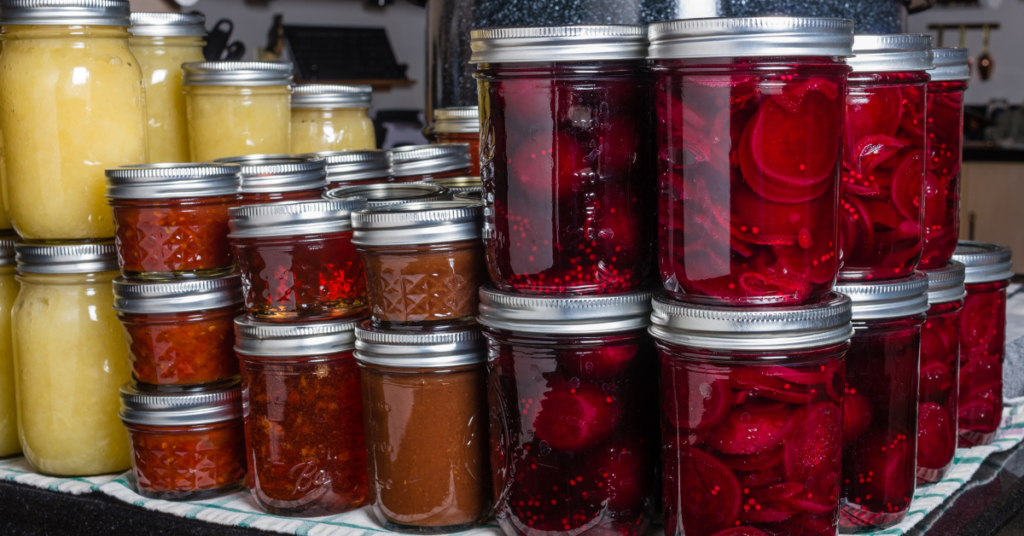
High-acid foods do have a pH of 4.6 or lower. They naturally resist bacteria growth, so they don’t need higher temperatures like low-acid foods in a pressure canner. A simmering water-bath with a temperature of 180°F is enough to kill harmful molds, yeast, and bacteria and preserve the food for years. [2]
Used for High-Acid Foods
- Tomatoes
- Pickles
- Jams
- Jellies
- Marmalades
- Fruits
- Berries
What’s needed
- Canning pot: enameled Dutch oven or a deep stockpot
- Kitchen tools to prepare your food and fill them in the jars
- Jars with lids and bands
- Funnel with wide-mouth
- Jar lifter
- Measuring cups
- Spatula
- Put a kitchen rag or round rack under your jars for good heat circulation in the water.
How Water Bath Canning Is Done
- Fill your canning pot with water and bring it to a simmer.
- Before using the jars, heat them and the lids to get them as clean as possible and reduce germs.
- Prepare your product for the jar filling.
- Fill each jar after another by using funnels and leave a headspace of ¼ to ½ inch to the lid.
- Get rid of air bubbles, slide the spatula between the jar and the food.
- Make sure the rims of the jars are clean before applying the lids. Wipe them with a clean paper towel or a kitchen towel when there is any splash back.
- Put the lids on the jars and then screw the band’s fingertip tight.
- Put the jars directly into the canning pot by using the jar lifter. The water should be 3 inches above the lids, and the jars shouldn’t touch.
- When the water is too much after putting the jars, use the measuring cups to remove water from the pot.
- Until your water is to a rolling boil, continue the boiling for the stated time of your recipe. Usually, it’s for 10 minutes.
- After the time is up, please turn off the heat and let the jars rest for another 5 minutes in the pot before removing them from the water.
- Now let them cool down for 24 hours to room temperature.
- During this time, the cooling steam inside forms a vacuum that seals the lid. You will hear a ping sound.
- After 24 hours, unscrew the bands and check the seals by pressing down on the center of the lids. Your canning process did well when there was no give.
- When there is, make sure to eat your product within 2 weeks and store them in the fridge.
Storing Canned Food
Under false storage conditions, canned food will lose quality within a few weeks and get bad.
Store them clean, dry, dark, and cool, but not in freezing temperatures.
Label and date the jars.
You will only sometimes remember which food is in which jar when doing canned food regularly. Better be safe and label everything to identify if the food went bad.#
We have a whole article about Storing Canned Food.
Using Vinegar in Canned Food
A 5% acidity or more is recommended for preserving food.
These are different kinds of vinegar with an acidity of 5-8%, which is suitable for canned food.
- Red white vinegar
- White wine vinegar
- Apple cider vinegar
- Balsamic vinegar
- White balsamic vinegar
- White vinegar
- Malt vinegar
Too little vinegar makes the acidity level unsafe, and too much alters the flavor of the food significantly. Adjust the proportions of vinegar, food, and water in your recipe. But mostly, it’s better to stay true and not change anything in the recipe. Also better don’t use homemade vinegar. These aren’t specific about the acidity level and can ruin food preservation.
Useful Tips
One jar out – one jar in
Don’t fill a cooled jar – leave the jars in hot water and take out the jar you are filling next.
- Let the jars cool slowly, and do not scare them off with cold water or by freezing them. This brings a jar to break.
- Make it easier and safer for yourself, and use a jar lifter.
- Follow the recipe instructions correctly, use the same amount and sizes, and set a timer as stated.
- Only use clean jars! Sterilize them before using them by heating them in water.
- Place the jars correctly. They are not allowed to touch each other and even the pot or the pressure canner.
If you want to prepare for Emergency, check out our Food Supply List.
