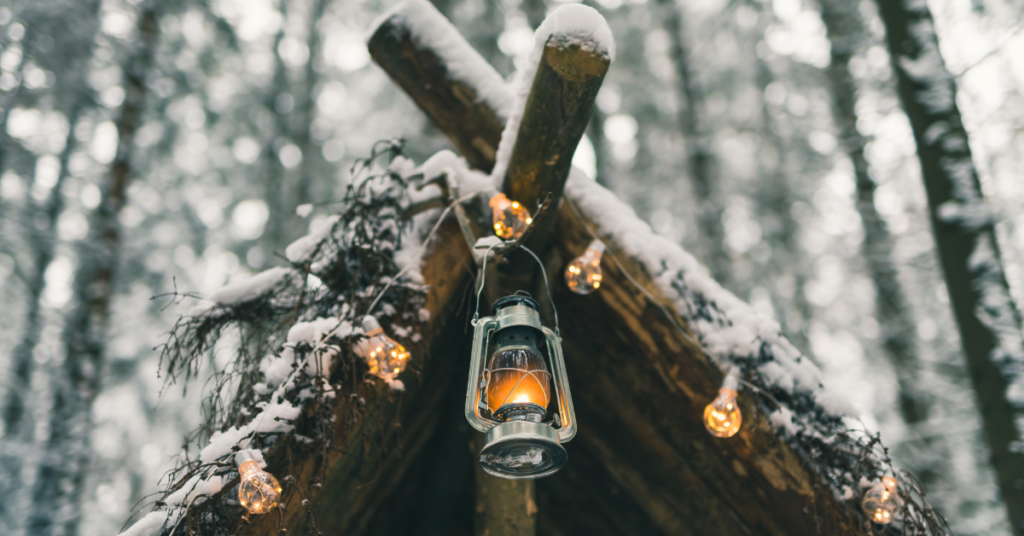
Building makeshift wilderness survival shelters in emergency situations is easy with the proper knowledge and supplies.
From leaves and sticks to blankets – there are numerous options for constructing temporary shelters and structures useful for bushcraft camping, weekend wilderness getaways or long-term bushcraft adventures.
You can find safety and security within nature’s embrace when you face a situation where you need a survival shelter, even in the middle of nowhere in a damp forest.
Tools
Preparing with a survival kit and some tools makes building survival shelters easier.
These are some essential tools that can help a lot with a building.
Folding Shovel
- Needs little space
- To collect a bunch of grass and moss
- Stabilizing branches in the ground for a bushcraft shelter
- Making a fire dug into the ground
Knife
- Cutting sticks to their size
- Collect bushes or fir branches to cover a shelter
- Cutting rope
Bushcraft Axe
- Chop wood or logs
Folding Saw
Read through this list to find the Perfect Saw for you.
- Needs little space
- Cutting branches
Wilderness survival Skills
We have a whole article about Survival Skills Here.
Paracord
A thin but stable rope, which is a very nice tool when it comes to security. Especially for securing a large tarp shelter.
To find the perfect Paracord for your need, read our Best Paracord guide!
Tarp Survival Shelter
Tarps are very helpful in creating a wind- and waterproof shelter in a short time. There are many ways to build an excellent cover with them, and it doesn’t take much time.
#1 – Wing Tarp
The Tarp Wing is just a tarp hanging between two trees. For this one, only secure the corners of your tarp.
You get fast rain and sun protection for hot days and can rest under your tarp wing.
You could even make a fire under it to warm up. For a fire, check out that your tarp is hanging high enough so that you can stand comfortably under it.
Be aware of the wind. The Tarp Wing is not recommended in windy situations.
A Tarp Wing is also suitable for multiple people under it. The size of your covered area under the tarp depends on the size of your tarp.
#2 – Tarp Tipi
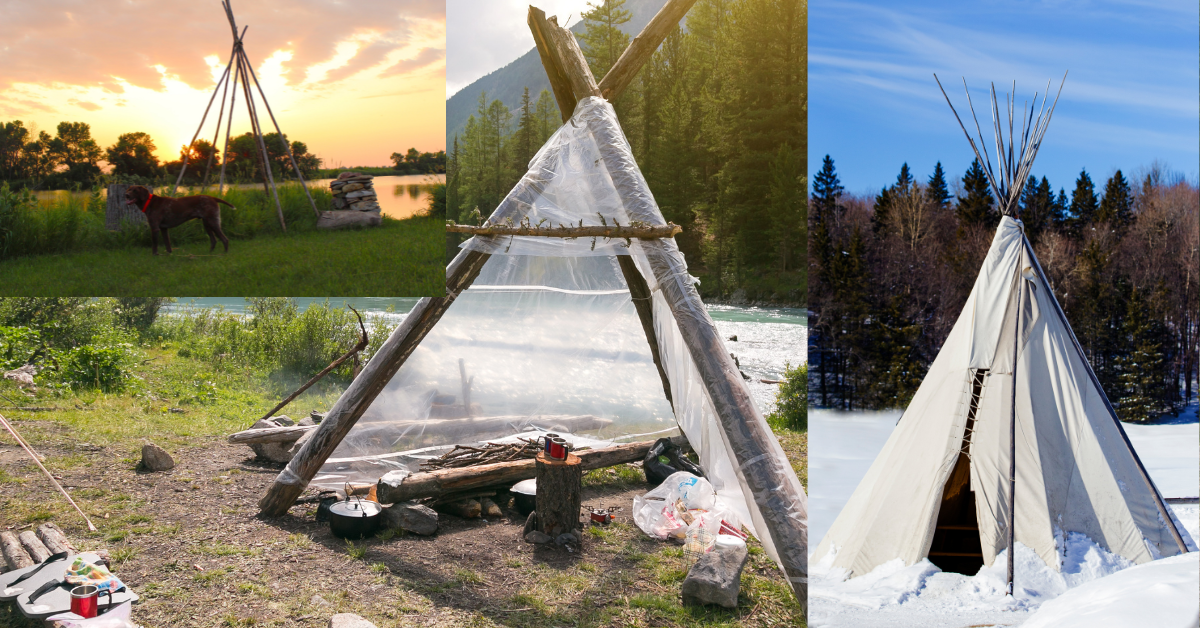
This one is supported by branches that build the outline of a tipi.
Get branches in the size of your tarp and put them into a freestanding construction by forking them together on top.
When it’s stable enough, you can lay your tarp around.
Secure your tarp with a paracord.
You can also use rocks to lay on your tarp to fix it to the ground when you don’t have pegs with you.
#3 – A-Frame Tarp Shelter
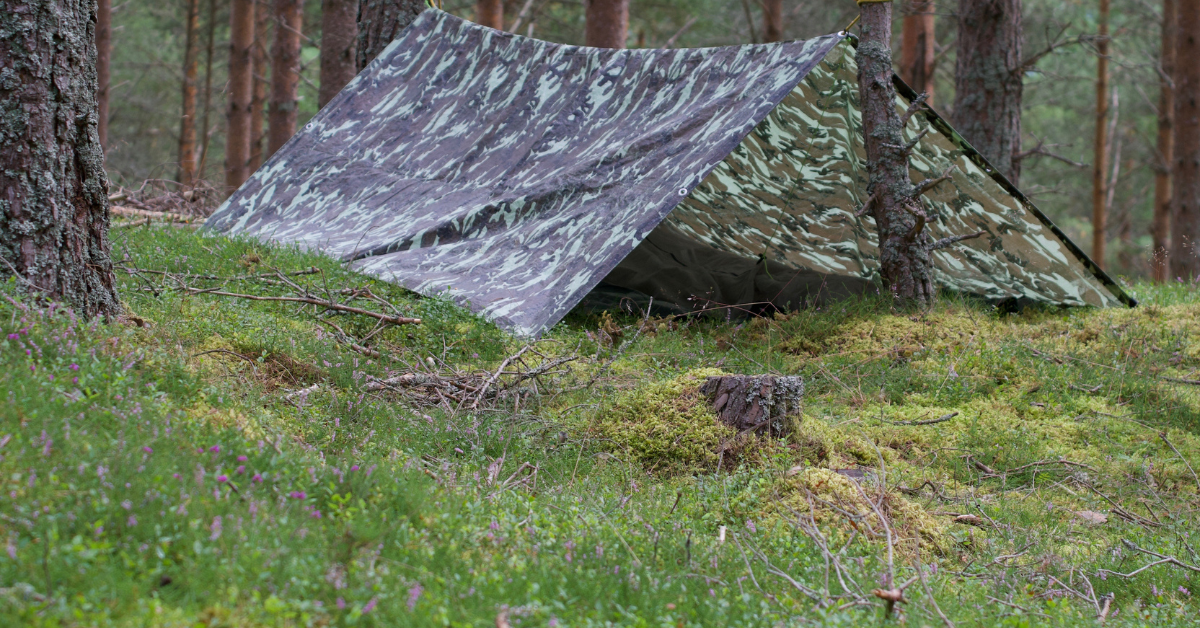
Like the name says, this shelter has a frame in the form of an A.
It’s like a tarp wing, but with the middle parts of two opposites hanging up above the end corners.
Unlike the Tarp Wing, this Frame offers more protection against wind, particularly when building the A-Frame Tarp Shelter close to the ground.
#4 – Tarp Hammock
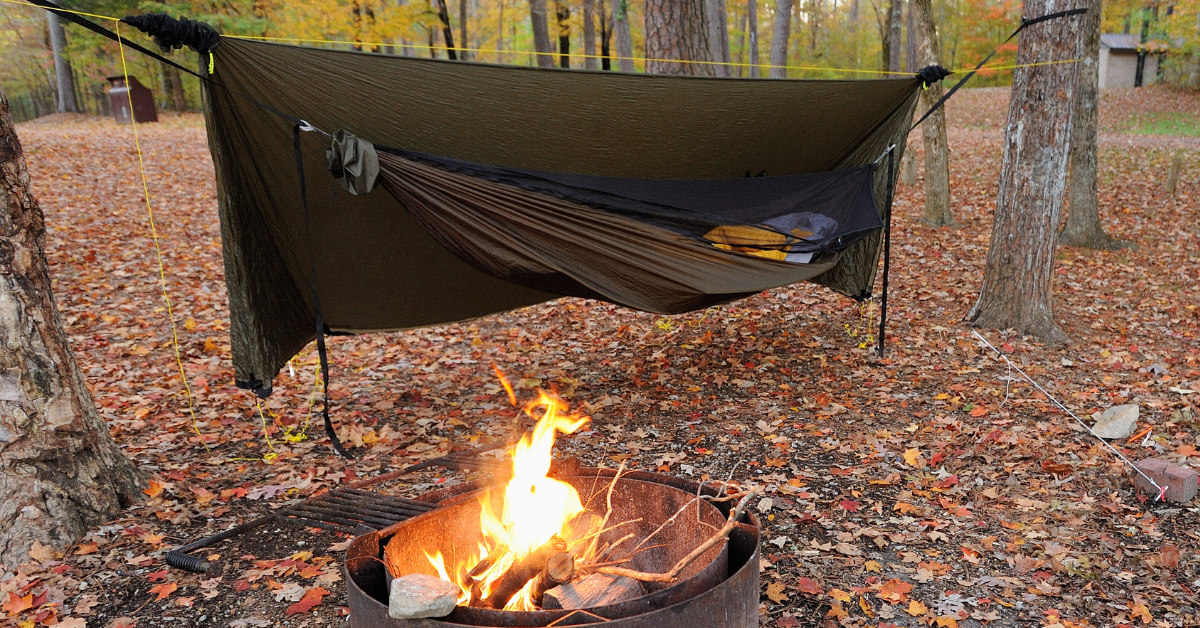
The tarp hammock is a clever solution for Sleeping in the forest off the wet ground. It would be best if you had a paracord that can hold your weight and a robust 8×10 feet tarp.
The long sides of your tarp get rolled halfway up on both sides.
Now the end gets secured by folding them and tying them very firmly with the paracord. Hang both sides up between a tree.
- Combine the hammock with the wing and get a waterproof shelter, ideally for a rainy environment.
- Against bugs, use a bug-repellent-soaked cloth tied on each hammock line. It prevents bugs from crawling up the cable into the hammock.
Bushcraft Huts
They can be built with no tools.
But as I said before, they make it easier. You will find EVERYTHING you need in the forest.
Get thick branches to create a stable outline. Then to get your shelter mostly closed, you must build the vegetation layer.
It is important to lay your wall from the bottom to the top to make it waterproof.
Your closing layer should cover all sticks from the outline because they collect rain and ensure that the inside of your shelter gets wet.
Fill the gaps with what you can find. Use smaller sticks, grass, dry leaves, moss, pine needles, or pine boughs.
Pro Tipp: Create a 45° slope for pitched roofs against rain.
#5 – Wicki-Up
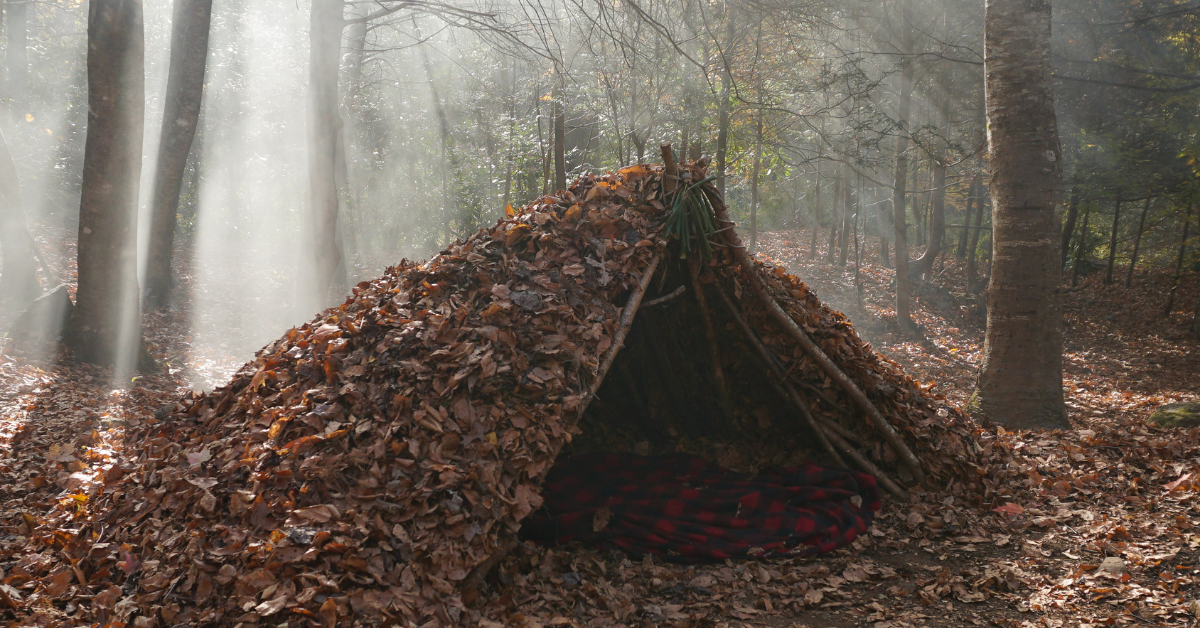
A wicki-up shelter is a good method for building a safe place for the night.
It’s similar to a tipi shelter in the wilderness.
For building, you have to create a sloping wall with thick branches, which you lock up at the top. Use some branches with forks at the ends, so you can just put them together on top.
You did a good job when these are freestanding without holding them.
The next step is to lay more poles with your branches around until there are smaller gaps to fill. Now fill in the gaps.
#6 – Wedge Hut
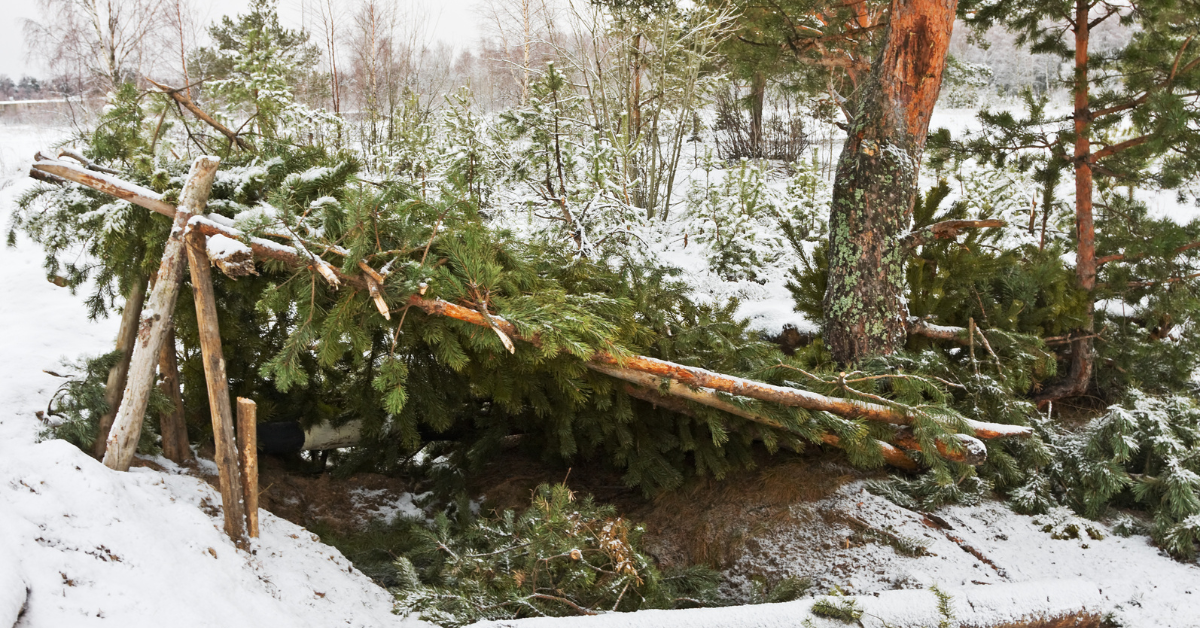
A wedge-shaped shelter. This one gives you enough space to sleep in it.
Here you need a 9 to 12 feet long log which you tuck in the ground.
You can also, and I think it’s easier to tuck your branch between a tree and the ground. Or you stabilize the branch on one side with a rock or stump and set it up with other forked stable sticks.
Before covering the sides with tree branches, make sure your outline is robust enough for more weight.
After you build the stick wall to the sides, it comes to the closing layer to make your hut water and windproof. Here you also use what you find.
#7 – Lean-To
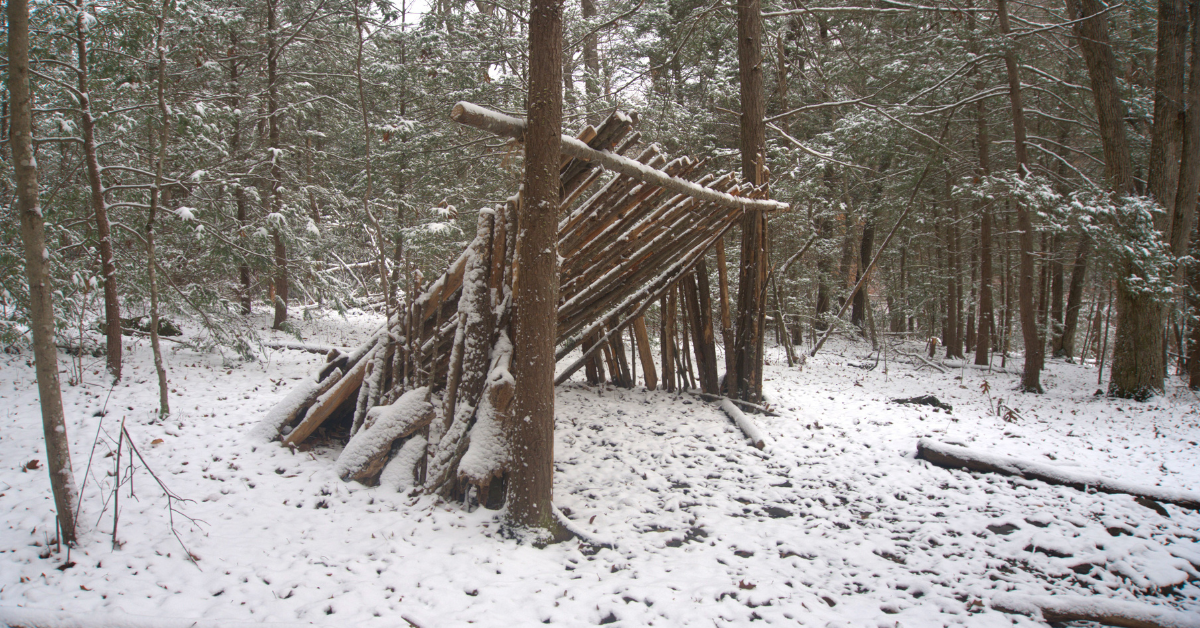
A simple and quickly built-up structure for a shelter.
It would help if you had a good spot between two trees and a log long enough to tuck it between them.
Or you built a construction with forked branches on both sides.
After doing this part, you can lean other branches to your structure until you get a closing wall.
- Easy and quick
- Windscreen
- Not recommended for rain
Bough Bed
A Bough Bed isn’t a shelter, but knowing how to build a bough bed efficiently creates a safe place to lay on without being directly on the cold, wet ground.
And it is much more comfortable when it comes to sleep in your survival shelter.
The bough bed is made from logs which build a frame and a mattress with a thick layer of boughs, leaves and fir branches.
#8 – Shelter with Smoke Hole
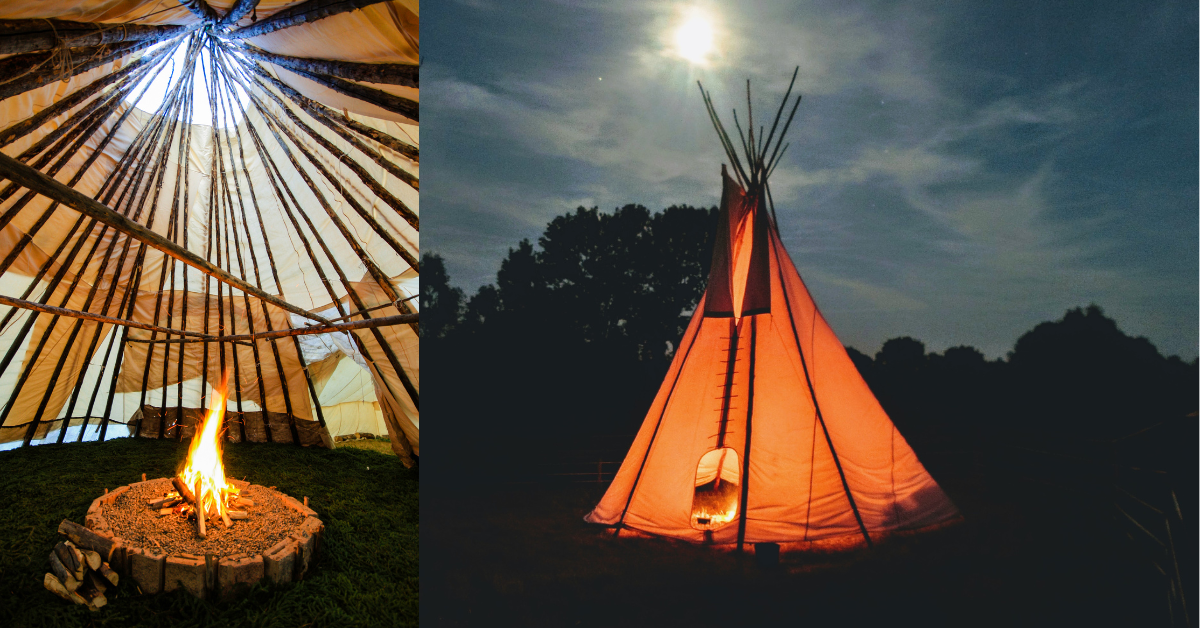
Shelters with Smoke Hole are constipated to make a firepit inside your shelter.
But the risks are high.
Do not start a firepit in a closed shelter.
Even if your firepit is safe not to spread onto your protection, the smoke will lead you to breathing difficulties.
For an easy smoke hole, build a tarp tipi. Lay your tarp with distance to the top to create a free spot like in a Sioux Tipi.
Heating
Making a fire at night gives much warmth, even on frosty nights. But making a fire inside of your shelter can be very dangerous.
But the fire is the best natural heating source, so good that making it in front of the entrance is enough for a small shelter.
Keep in mind for making fire inside your shelter:
- If you do not have enough ventilation in your shelter, the carbon monoxide produced by burning carbonaceous materials, such as wood, could kill you in your sleep.
- For sustainable living, Avoid using dry wood or leaves. Try using greenwood and fresh materials for your shelter to prevent your fire from spreading.
In-Ground Fire
Keeps the fire from spreading by digging a 5-6 inches deep hole to place the firepit.
Dakota Fire
The Dakota Fire helps hide the fire in a windy environment.
It needs two holes in the ground which are connected by a tunnel.
One hole is for the firepit, and the other is for the smoke to come out.
This way of making a fire is good in windy situations, but you can also use it to heat your shelter from the inside.
Just connect the smoke hole outside your shelter to the hole inside. This way will help you with keeping most of the smoke outside.
Last Words
To get in touch with actually building a shelter, make a trip to a forest, the location of your choice, and start by looking for a spot to build a shelter.
Please note the rules of the forester and mother nature and do not destroy living organisms like trees or bushes. Using deadwood will not harm anyone. Check out the weather situations, maybe it’s better to start with light weather conditions.
But being prepared against the elements, wetness, and rain is always a solid decision. Practice your skills and get to figure out how to build.
You will only learn by doing what works and what doesn’t.
We hope you have fun to get better and better in your survival skills.
Check out our Prepping List for more options!
